Windows 2000 VPN Configuration
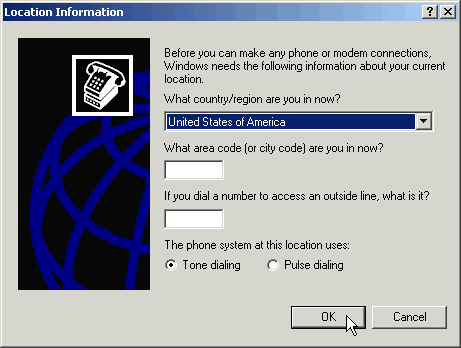
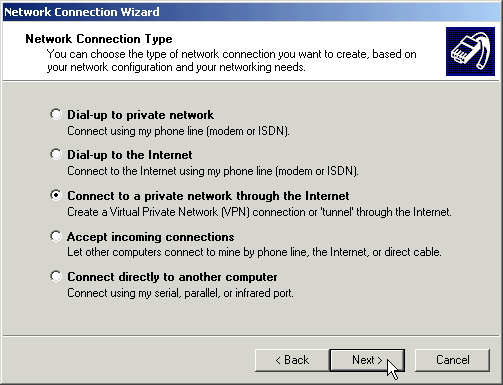
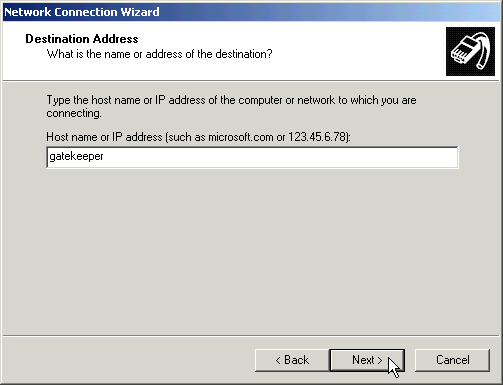
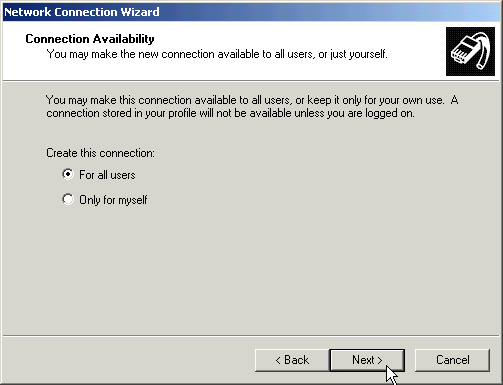
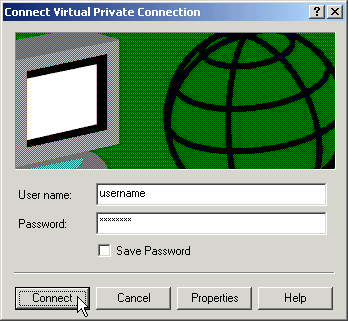
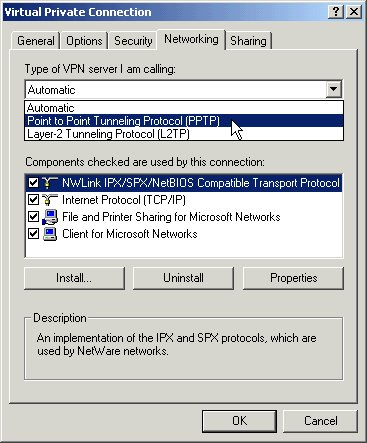
NOTE: The following instructions are for connecting to a Real Time Linux Firewall with VPN services only, if you are trying to connect to any other server, these instructions will not help you. Take a look at Real Time's Firewall and VPN information to learn more about our Linux Solutions. Requirements: Windows 2000 is automatically eligible for use of VPN with Real Time. Setting up a VPN Connection
VPN for Windows should now be successfully setup on your computer to securely access a remote network. The instructions and screen shots contained within this website are specific to services offered by Real Time Enterprises only. If you have any problems connecting to Real Time after carefully following these directions, please call (952) 943-8700 and we will be happy to help you.
Permission is granted to copy, distribute and/or modify this document under the terms of the GNU Free Documentation License, Version 1.1 or any later version published by the Free Software Foundation; with no Invariant Sections, no Front-Cover Texts and no Back-Cover Texts. A copy of the license is included in the section entitled "GNU Free Documentation License". |
 |
Real Time Enterprises, Inc. Phone: (952) 943-8700 |

