Outlook 2010 on Windows Configuration
Configuring Outlook 2010 on Windows Official Website: http://office.microsoft.com/en-us/outlook/ Download: Commercial software only available by purchase.
Launch Outlook 2010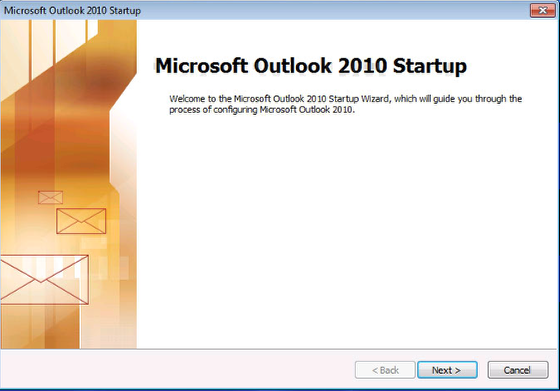 Launch Outlook, and if this is a new set up you will see an introductory screen. Click on Next. Outlook 2010 - Account Configuration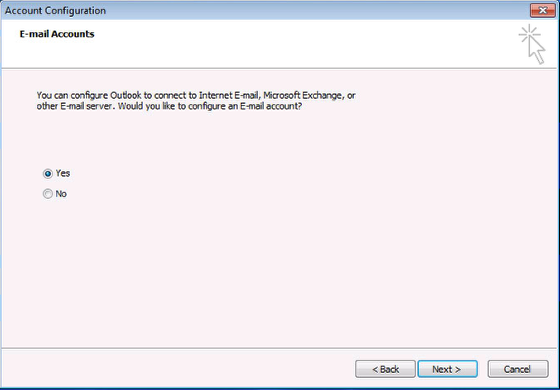 In the E-mail Accounts window, by default the Yes option should be selected. If not, select Yes and then click on Next. Outlook 2010 - Auto Account Setup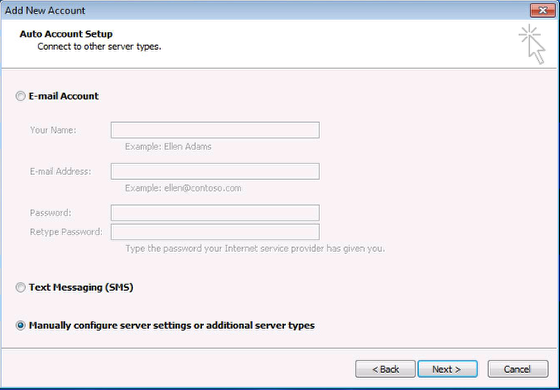 In the Auto Account Setup window, select Manually configure server settings or additional server types and click on Next. Outlook 2010 - Choose Service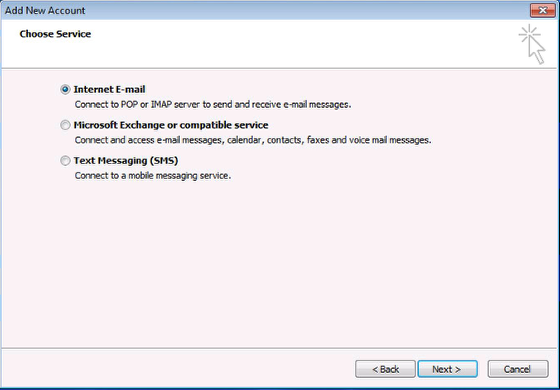 Select Internet E-Mail (the first option) then click Next. Outlook 2010 - Internet E-mail Settings The next screen will display and ask for your mail account information. Proceed with the following changes.
Outlook 2010 - Outgoing Server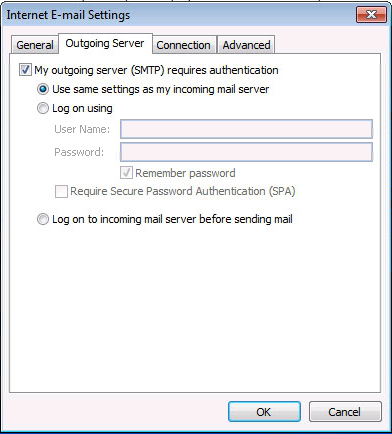 A new floating window will appear called Internet E-mail Settings. Click on the second tab, Outgoing Server.
Outlook 2010 - Advanced The following settings need to be updated.
Outlook 2010 - Add New Account, Next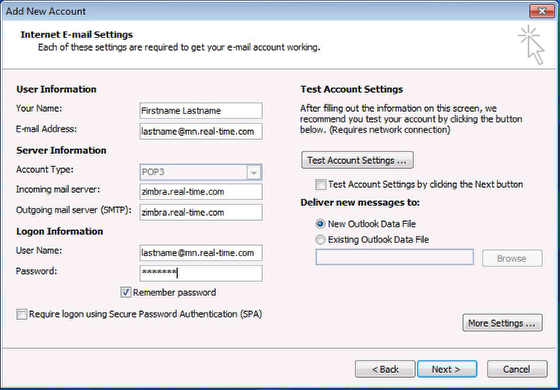 This will take you back to the earlier window called, Add New E-Mail Account. Click on Next. Outlook 2010 - Finish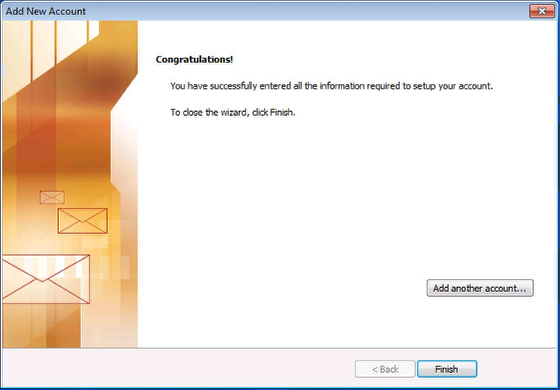 Click on the Finish button. Outlook 2010 The setup of Outlook 2010 is now complete. The instructions and screen shots contained within this website are specific to services offered by Real Time Enterprises only.
Permission is granted to copy, distribute and/or modify this document under the terms of the GNU Free Documentation License, Version 1.1 or any later version published by the Free Software Foundation; with no Invariant Sections, no Front-Cover Texts and no Back-Cover Texts. A copy of the license is included in the section entitled "GNU Free Documentation License". |
|
Real Time Enterprises, Inc. Phone: (952) 943-8700 |
