Mail Configuration on Mac OS X
How to configure Mail (aka, Mail.app) on Mac OS X
Launch MailDouble click on the Mail application icon found within the dock of the desktop to launch the mail client. Mail App Preferences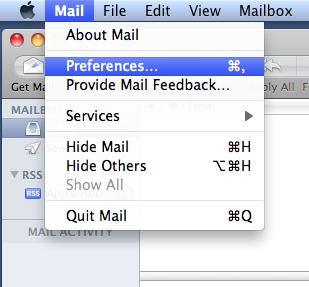 Click on Mail and then select Preferences Mail App Accounts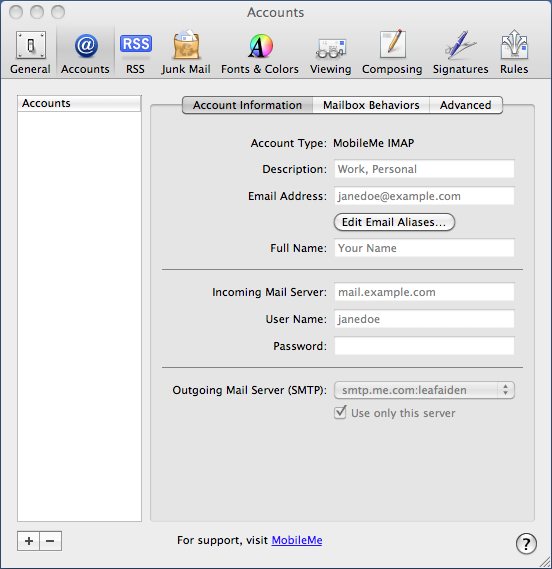 A new floating window will appear. Click on the plus sign (+) in the lower left of the screen. Mail App Add Account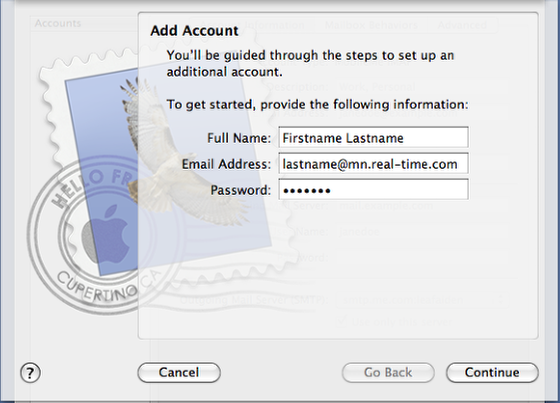 Enter the following information in to the text fields:
Click on the Continue button in the lower right. Mail App Incoming Mail Server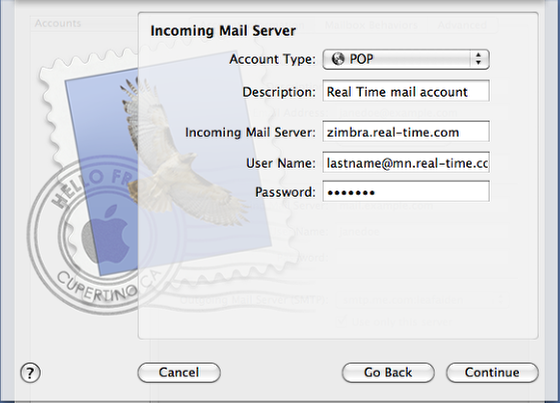 On the next screen, it will ask you for Incoming Mail server information. Entering the following:
Click on the Continue button in the lower right. Mail App Outgoing Mail Server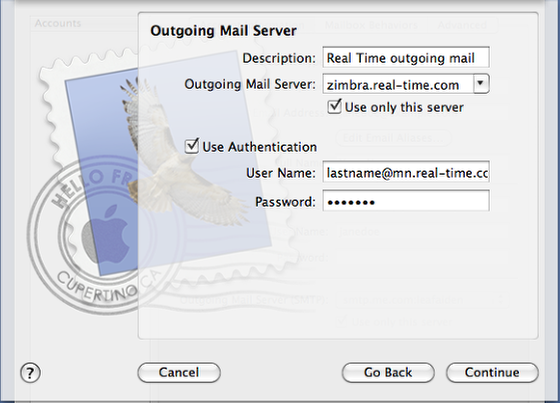 On this screen, it will ask you for Outgoing mail server information. Enter the following:
Click on the Continue button in the lower right. Mail App Account Summary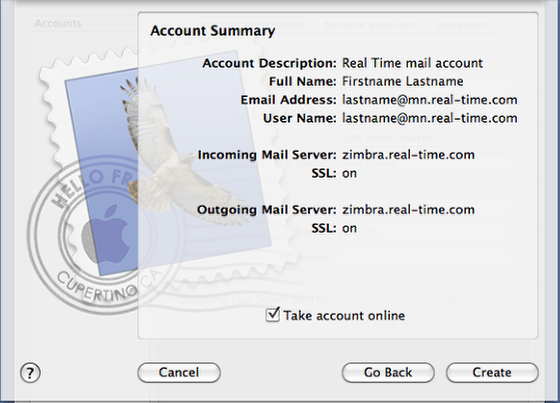 You should now see a screen with a complete summary of the mail account you setup. Important to note that SSL is set to on for both the Incoming Mail server and the Outgoing Mail Server. Click on the Create button in the lower right. Mail App Accounts - Advanced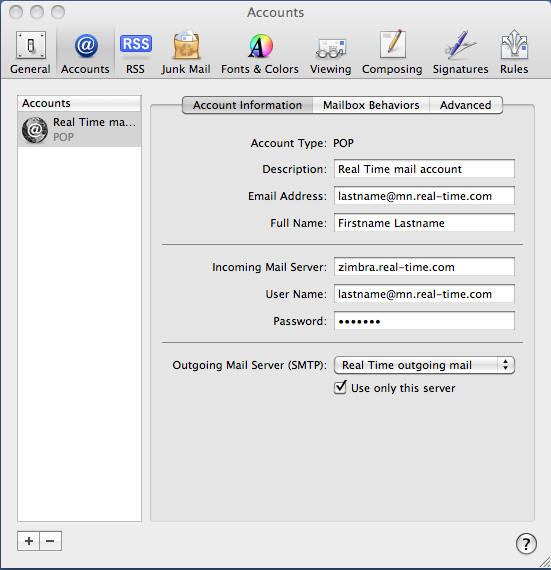 Close out the Accounts window by clicking on the red circle in the upper left of the window. Mail App - Complete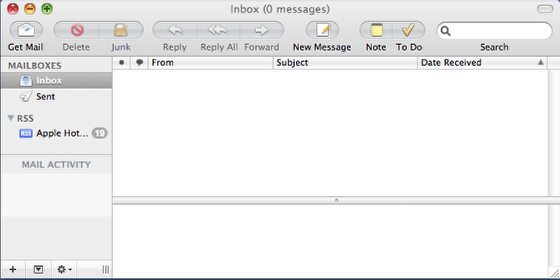 Setup of Mail is now complete. The instructions and screen shots contained within this website are specific to services offered by Real Time Enterprises only.
Permission is granted to copy, distribute and/or modify this document under the terms of the GNU Free Documentation License, Version 1.1 or any later version published by the Free Software Foundation; with no Invariant Sections, no Front-Cover Texts and no Back-Cover Texts. A copy of the license is included in the section entitled "GNU Free Documentation License". |
|
Real Time Enterprises, Inc. Phone: (952) 943-8700 |
