-
Download Eudora from http://www.eudora.com/products/eudora/download/
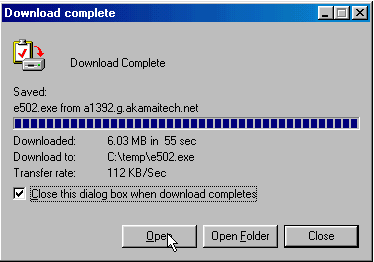
Save to your c:\temp directory
Click Open to begin the installation process
-
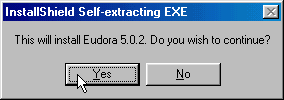
Click on Yes to continue with the installation
-
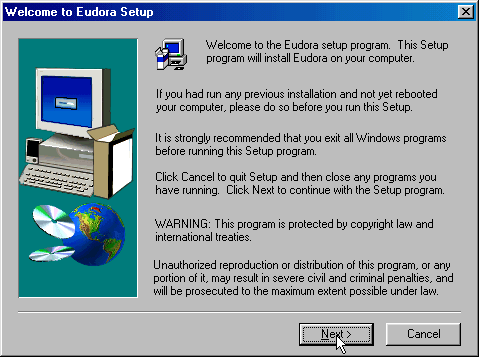
Click Next in the Welcome to Eudora Setup window
-
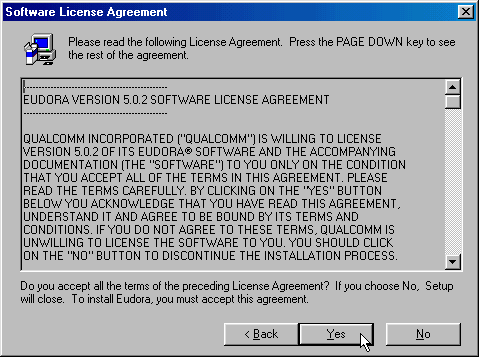
Read through and click Yes to the Software License Agreement
-
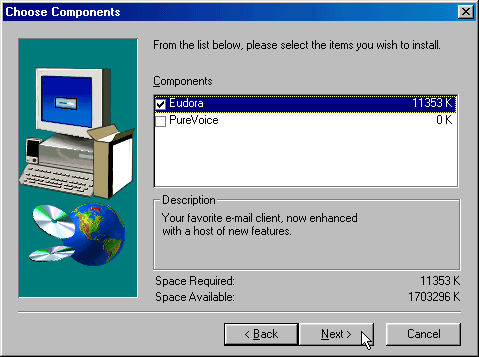
Select which components you want to install in the Choose Components window. You probably do
not need the `PureVoice´ component. Click Next
-
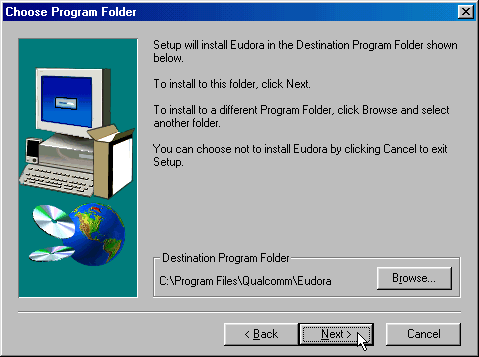
Select which folder you want to install Eudora in to. The default folder should be fine. Click
Next
-
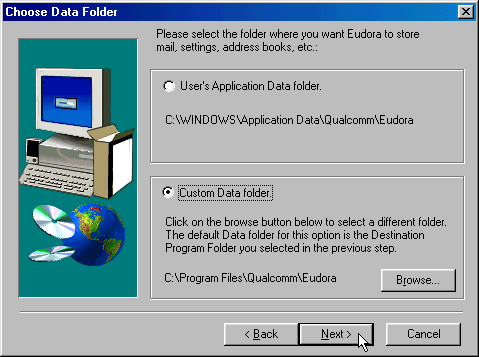
Accept the default Data Folder listed for where your mail will be stored. Click Next
-
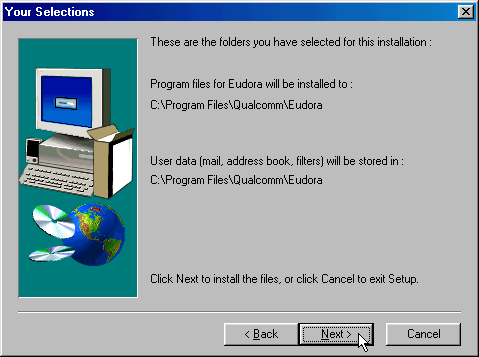
Confirm Your Selections and click Next
-
Click Yes to create a desktop Shortcut

-
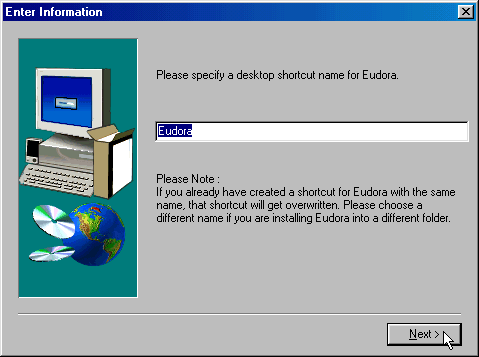
If you like, enter in a different name for the desktop shortcut. Click Next
-
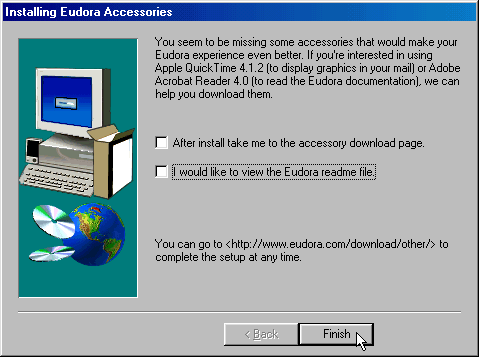
Place a check in the Accessory box if you want to install the additional components and/or read the
readme file. Click Finish
-
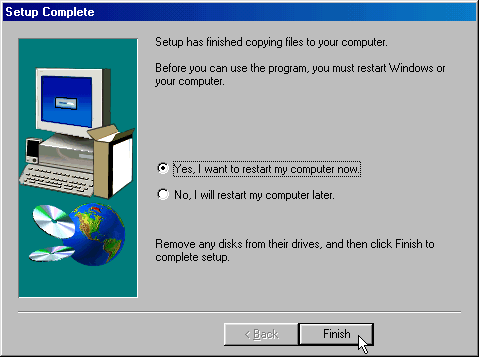
Click Finish in the Setup Complete window and reboot your computer
-
After the computer has finished rebooted, open up Eudora using the newly created desktop shortcut

-
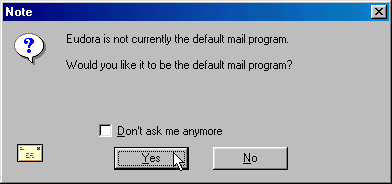
Click Yes to make Eudora your default email program
-
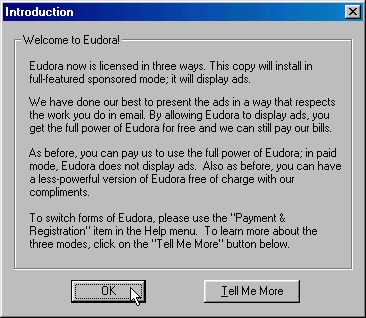
Read through the Introduction window and click OK
-
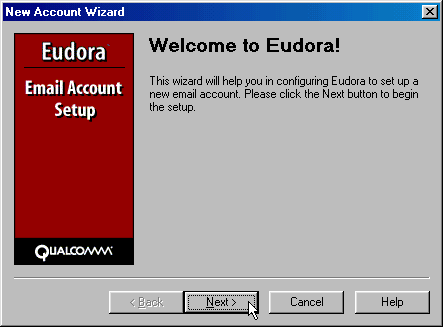
Click Next in the New Account Wizard window
-
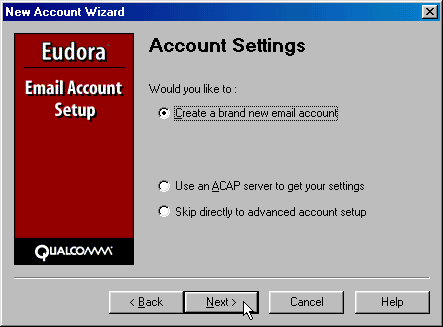
Place a check in front of Create a brand new email account. Click Next
-
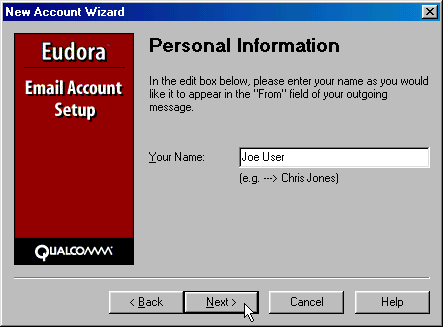
Enter in your first and last name. Click Next
-
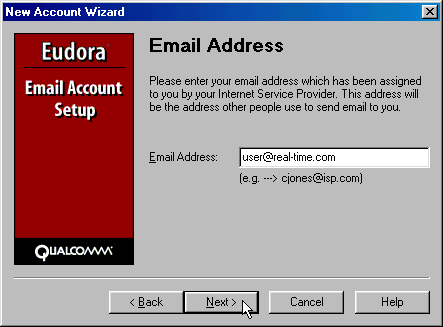
Enter your email address. Click Next.
-
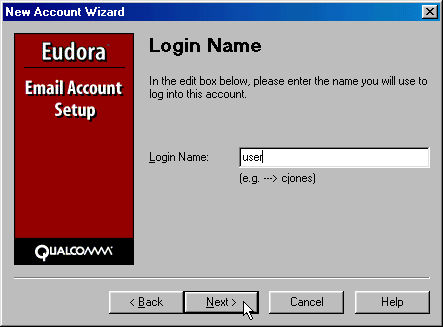
Enter in your username (referred as login name here.) Click Next
-
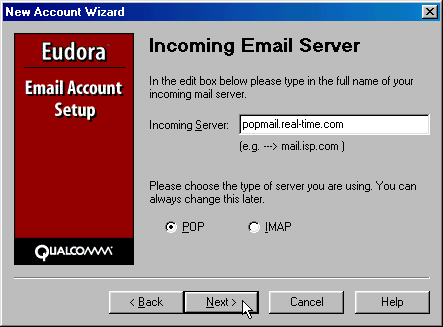
Enter in popmail.real-time.com as the Incoming Server. Make sure there is check in front
of POP as well. Click Next
-
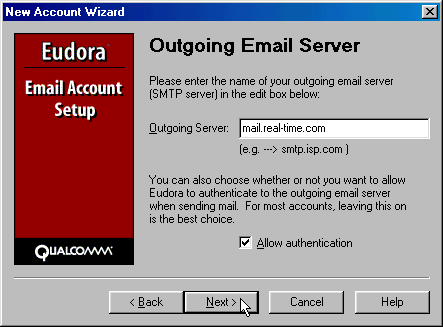
Enter in mail.real-time.com as the Outgoing Server. Make sure there is a check
in the box next to Allow authentication
-
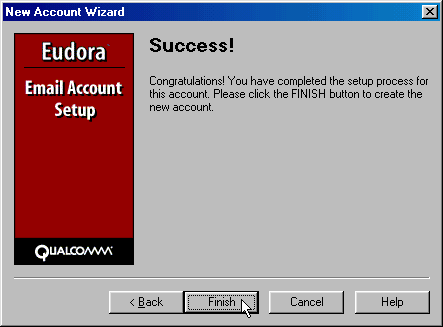
Click Finish
-
After this you will be asked if you want to fill out a user profile - read through the options and
select which one you want to follow through with.
The instructions and screen shots contained within this website are specific to services offered by Real Time Enterprises only.
If you have any problems connecting to Real Time after carefully following these directions, please call (952) 943-8700 and we will
be happy to help you.
Permission is granted to copy, distribute and/or modify this
document under the terms of the GNU Free Documentation License,
Version 1.1 or any later version published by the Free Software
Foundation; with no Invariant Sections, no Front-Cover Texts and
no Back-Cover Texts. A copy of the license is included in the
section entitled "GNU Free Documentation License".


