WinSCP - open source SFTP Client for Windows
|
More information about Real Time's products & services is available on our sales web site. Direct links for each item are listed below:

|
WinSCP is an open source SFTP client for Windows. Its main function is the secure file transfer between a local and a remote computer. Beyond this, WinSCP offers basic file manager functionality. It uses Secure Shell (SSH) and supports, in addition to Secure FTP, also legacy SCP protocol.
Download
- Visit the following URL: http://winscp.net/eng/download.php
- Download the most current Installation package from one of the listed mirrors and save it to your hard drive
Installation
-
Once the download has completed, find the .exe file and double click on it to install WinSCP
Click Next in the WinSCP Setup Wizard 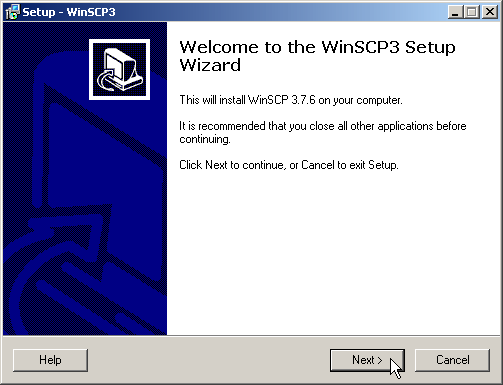
Read through the License Agreement - if you agree, click on Next 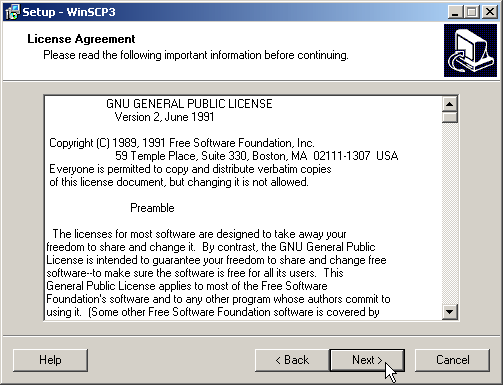
Use the default install location (unless you have reason to do otherwise) and click on Next 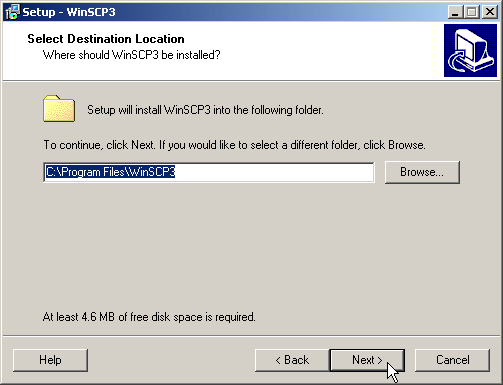
Select the additional components that you wish to download. By default, all options are selected and this should be fine. Click on Next 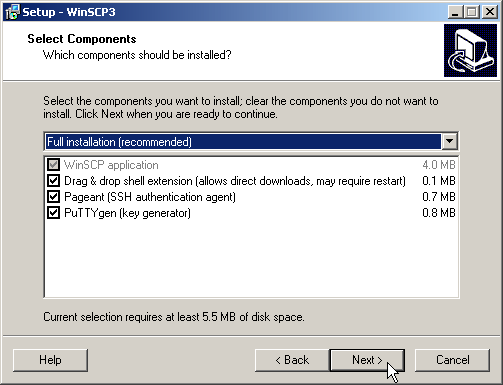
If you would like to have WinSCP listed in your Start Menu or change the folder name then make those changes here. The default options will work fine, click on Next 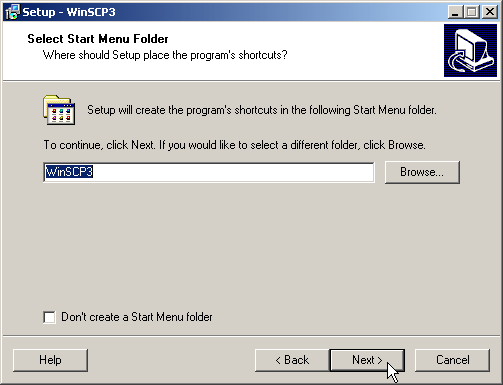
Select which options you would like enabled, the default will work fine, click on Next 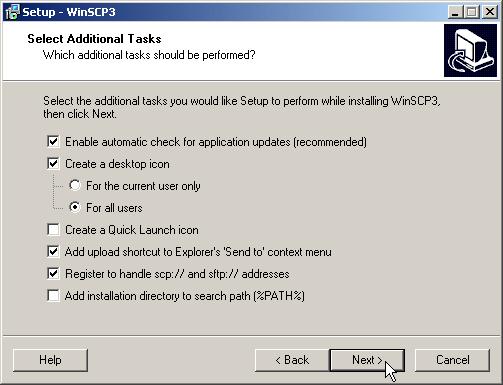
Select which interface style you prefer then click on Next 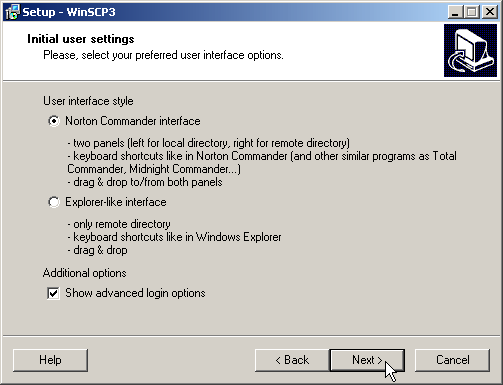
Confirm or double check your installation settings and click on Install 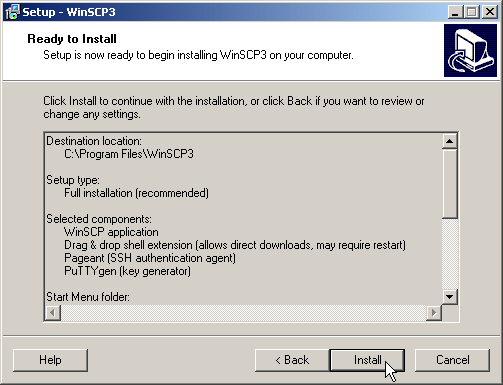
WinSCP is now being installed on your computer, this may take a couple of minutes 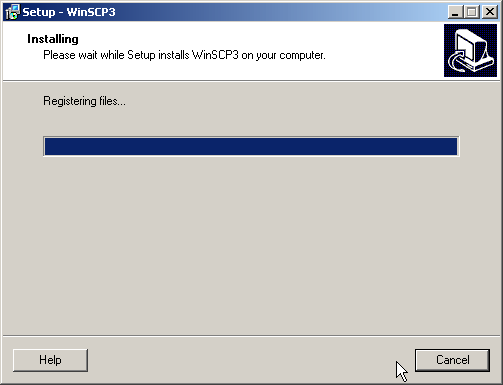
After the installation has completed, click on Finish 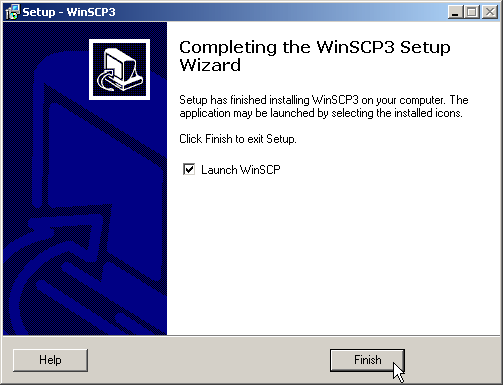
Configuration
When you launch WinSCP, you will see a login screen asking for you a Host Name, Username and Password along with other options
- Type in the Host name (or IP Address or website url) of the server you wish to connect to
- Leave the Port number at 22 unless you have a specific reason to use a different one
- Type in your login name in the User name field
- Enter in your password in the Password field; this field can be left blank and you will be prompted for your password before connecting to the server
- Leave the option for SFTP (allow SCP fallback) selected
- Click on Login to connect to the server (Note: you may want to click on the Save button first if you are going to be connecting to this server often)
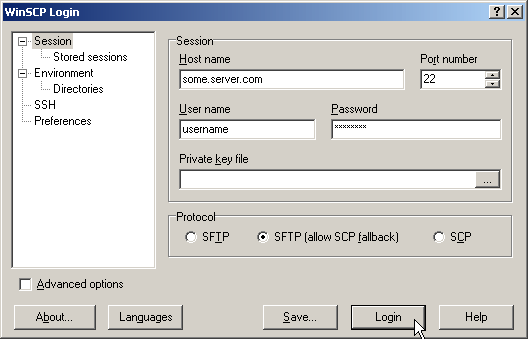
A new window should appear showing that you have connected to the remote server (Note: this screen shot is using the Norton Commander interface) 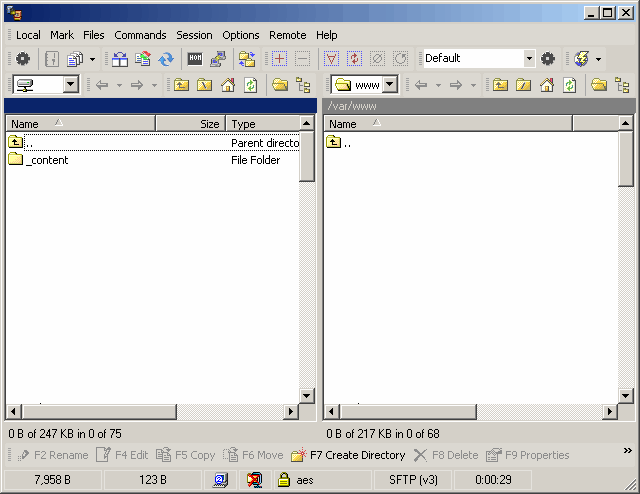
You can either drag-n-drop files from the local host to the server to copy them (or the reverse to download files from the server) or follow the keyboard short cuts or use the built in interface to do that It's a good idea to save your session if you are going to connect to this server often by click on Session -> Save Session... 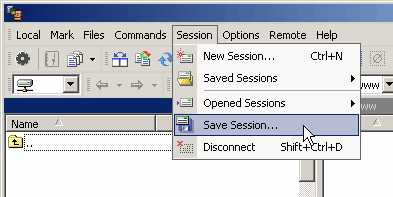
To disconnect, you can either click on Session -> Disconnect or use the keyboard shortcut of Shift+Ctrl+D 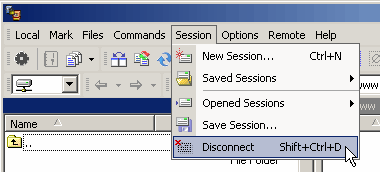
The instructions and screen shots contained within this website are specific to services offered by Real Time Enterprises only.
Permission is granted to copy, distribute and/or modify this
document under the terms of the GNU Free Documentation License,
Version 1.1 or any later version published by the Free Software
Foundation; with no Invariant Sections, no Front-Cover Texts and
no Back-Cover Texts. A copy of the license is included in the
section entitled "GNU Free Documentation License".
|
|


