Configure PGP for Evolution Email Client
|
More information about Real Time's products & services is available on
our sales web site. Direct links for each item are listed below:

|
This HOWTO will take you through a quick & basic PGP Key creation, submission
to key servers, and setup in Evolution.
Table of Contents:
Key Generation, Graphic User Interface (GUI)
First, you'll need to make sure
you have (or install) the following packages:
Then proceed with the following:
Launch a Seahorse by hitting Alt & F2 then type seahorse 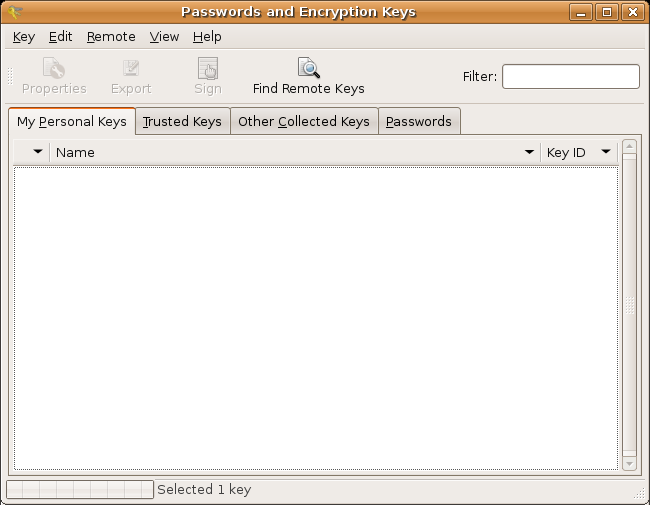
Click on Key -> Create New Key... (Or, hit Ctrl+N) 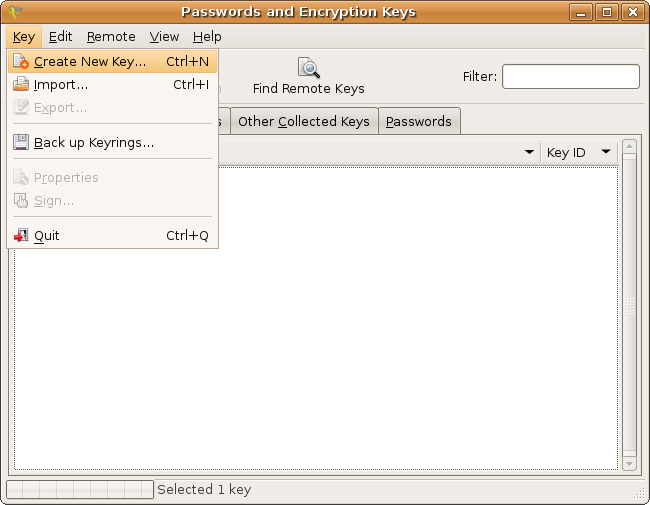
Select PGP Key and click on Continue 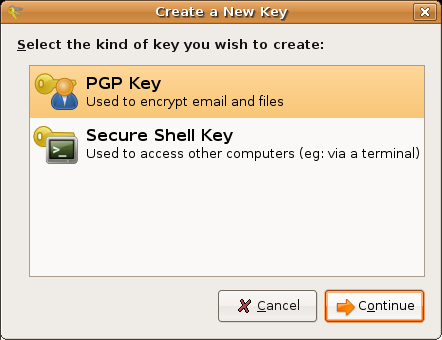
-
Enter in the following information:
Your First and Last Name in
the Full
Name: field
Your Email Address in the Email Address: field
Optional
- a comment in the Comment: field
Click on Advanced Options
The
default options are
fine, but you may want to change them
Click on Create 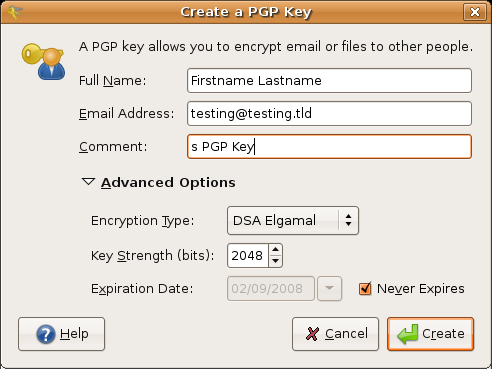
-
You will now have to enter you password or passphrase for your PGP key -
it's recommended to use a sentence with a mix of random numbers and mixed capitalization;
do not make
this easy to guess! 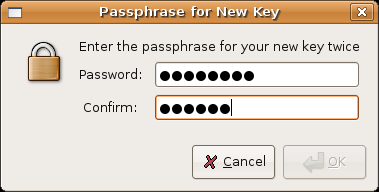
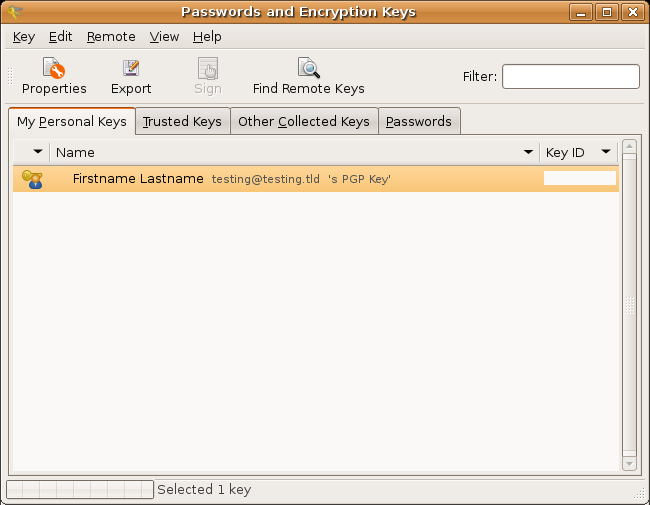
You should now see that your key has been created
See the column labeled Key
ID ? (currently blocked out with the white box..) You will need to reference
that number|text string later on in Evolution
Right click on your Key and select Sync and Publish Keys... 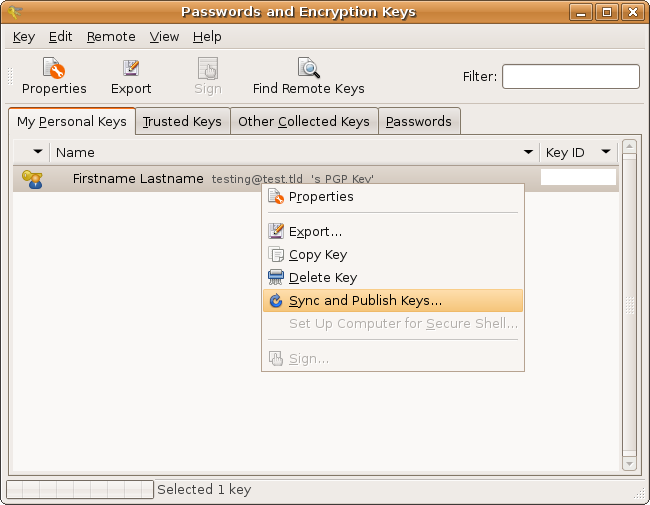
Click on Sync and then wait a moment or two 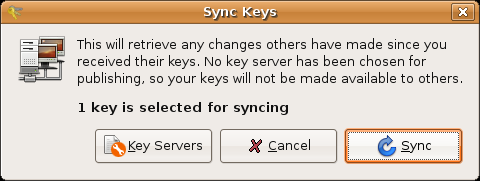
You have now successfully created a PGP key and uploaded it to a public server See how you can integrate this with Evolution email client
Key Generation, Command Line Interface (CLI)
First, you'll need to make sure
you have (or install) the following packages:
Then proceed with the following:
Launch a terminal window by hitting Alt & F2 then type xterm Enter the following xterm window:
gpg --gen-key Then enter 1 (this selects the option, "1- to create a standard DSA/ElGamal
key" - this
is
selected
by default) and
press
Enter Type in 1024 and then press Enter Type in 0 and then press Enter Enter a y and then press Enter Type in your Real Name, as in your first and last name and press Enter Type in your email address (this is the email address you will be using your
GPG Key with) and press Enter In the Comment field, you can leave this blank or add other important information,
then press Enter Type 0 (as in Okay) to confirm settings so far and then press Enter -
You will now have to type in your Pass Phrase - it's recommended to
use a sentence with a mix of random numbers and mixed capitalization; do not
make
this easy to guess!
IMPORTANT: The Pass Phrase is not long enough you will
be warned and prompted to enter a new one again
You will have to re-enter your Pass Phrase again to confirm it -
Wait for your computer to generate the random bytes needed for they key, this
could take a while
One they Key generation process has finished, proceed with the following:
While in the same xterm, type in the following command:
gpg
--export -a "User Name" > public.key
Be sure to replace "User
Name" with your actual username Open a nautilus window by hitting Alt & F2 and typing nautilis Find the file public.key in your home
directory Right click on the file, then left click on Open with "Text Editor" Press CTRL+A, then CTRL+C
Or, Edit -> Select All and
then Edit -> Copy Launch a web browser and visit this page, http://pgp.mit.edu In the box under labeled "Submit a key" - right click in
the box and then left click on Paste Click on the button labeled, Submit
this key to the keyserver! Go back to http://pgp.mit.edu Type in your First and Last name in the Search String: box On the results page you are looking for keyID column Highlight and copy your keyID - you will need to refer to this in the
next step
Configure Evolution
Launch Evolution 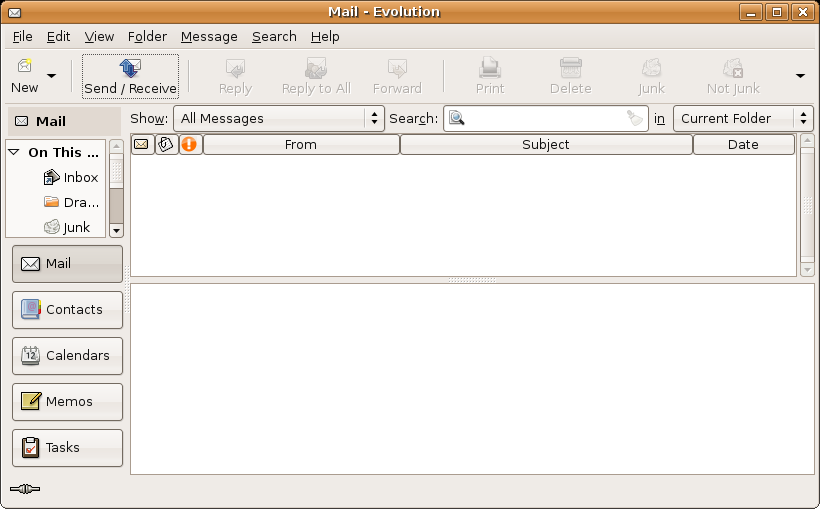
Go to Edit -> Preferences or hit Shift+Ctrl+S 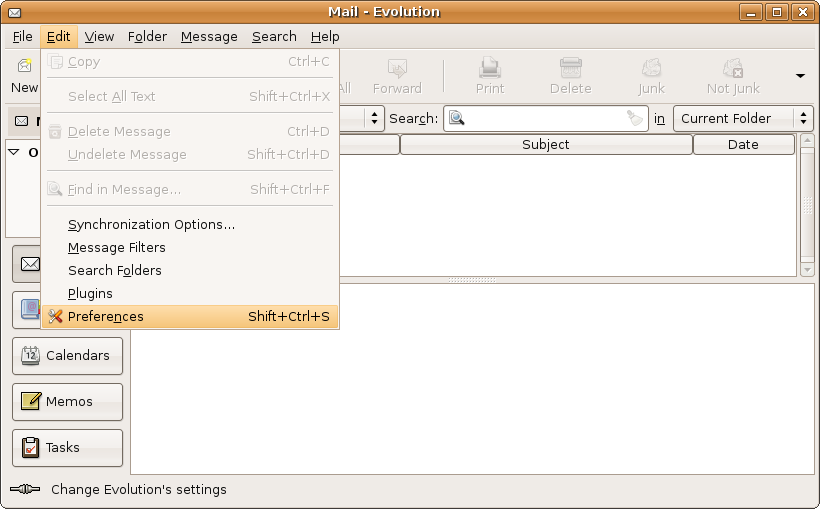
Choose your email account, left click on it once, and then click Edit 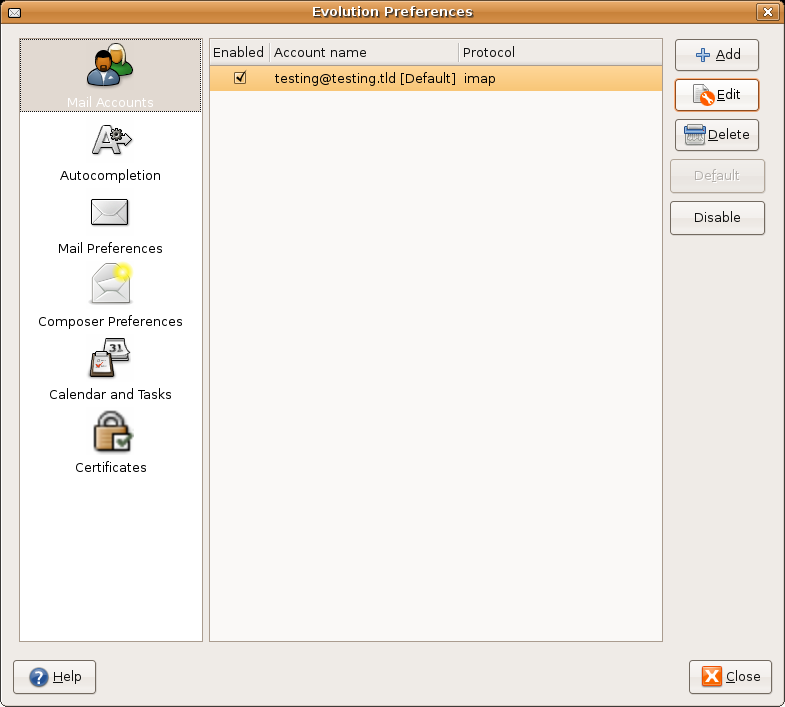
Click on
the Security tab (found on the far right) -
In the PGP/GPG Key ID: box, enter (or paste) your Key ID (sometimes
called keyID) - see the steps listed above on where this is located or
how you can find your Key ID
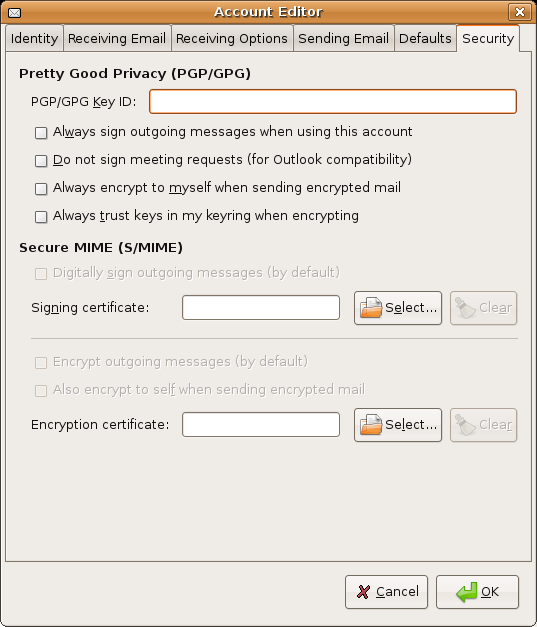
Click OK Click Close
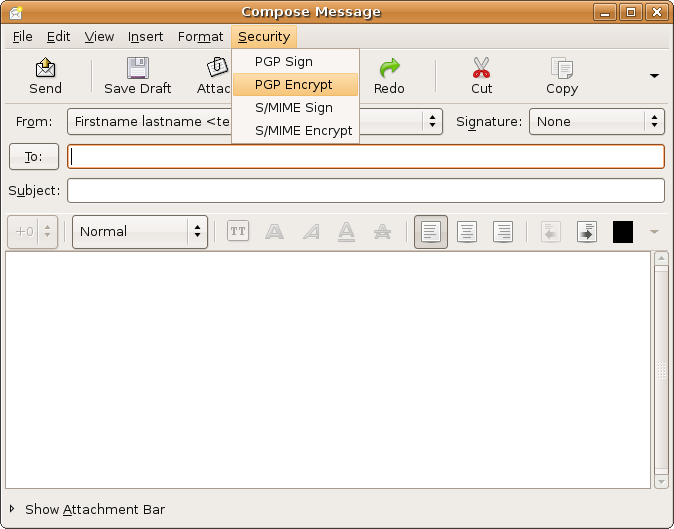
If you want to use your
key in any new email, simply click on the Security menu item in your
new mail message, and then click on PGP Sign or PGP Encrypt
The instructions and screen shots contained within this website are specific to services offered by Real Time Enterprises only.
Permission is granted to copy, distribute and/or modify this
document under the terms of the GNU Free Documentation License,
Version 1.1 or any later version published by the Free Software
Foundation; with no Invariant Sections, no Front-Cover Texts and
no Back-Cover Texts. A copy of the license is included in the
section entitled "GNU Free Documentation License".
|
|
